Door and Window Sensors Explained: Placement That Actually Catches Something
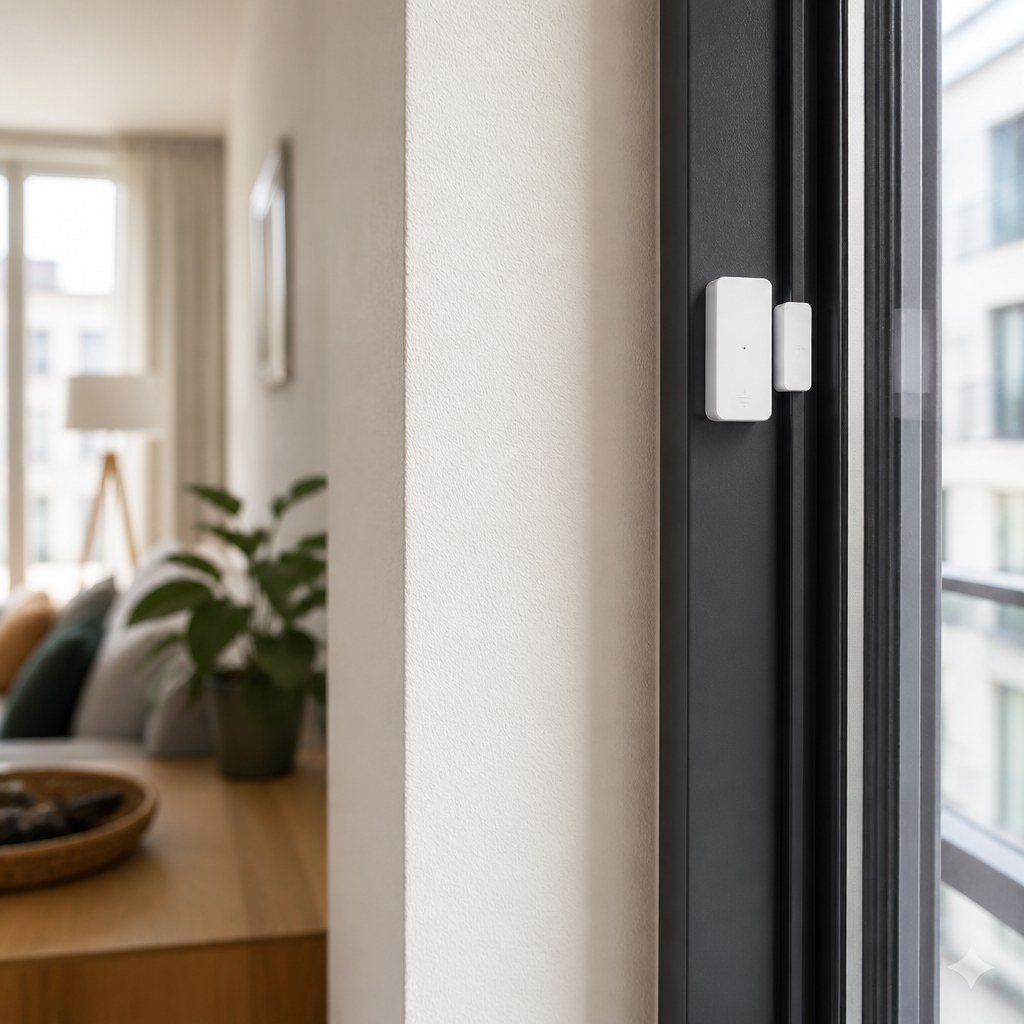
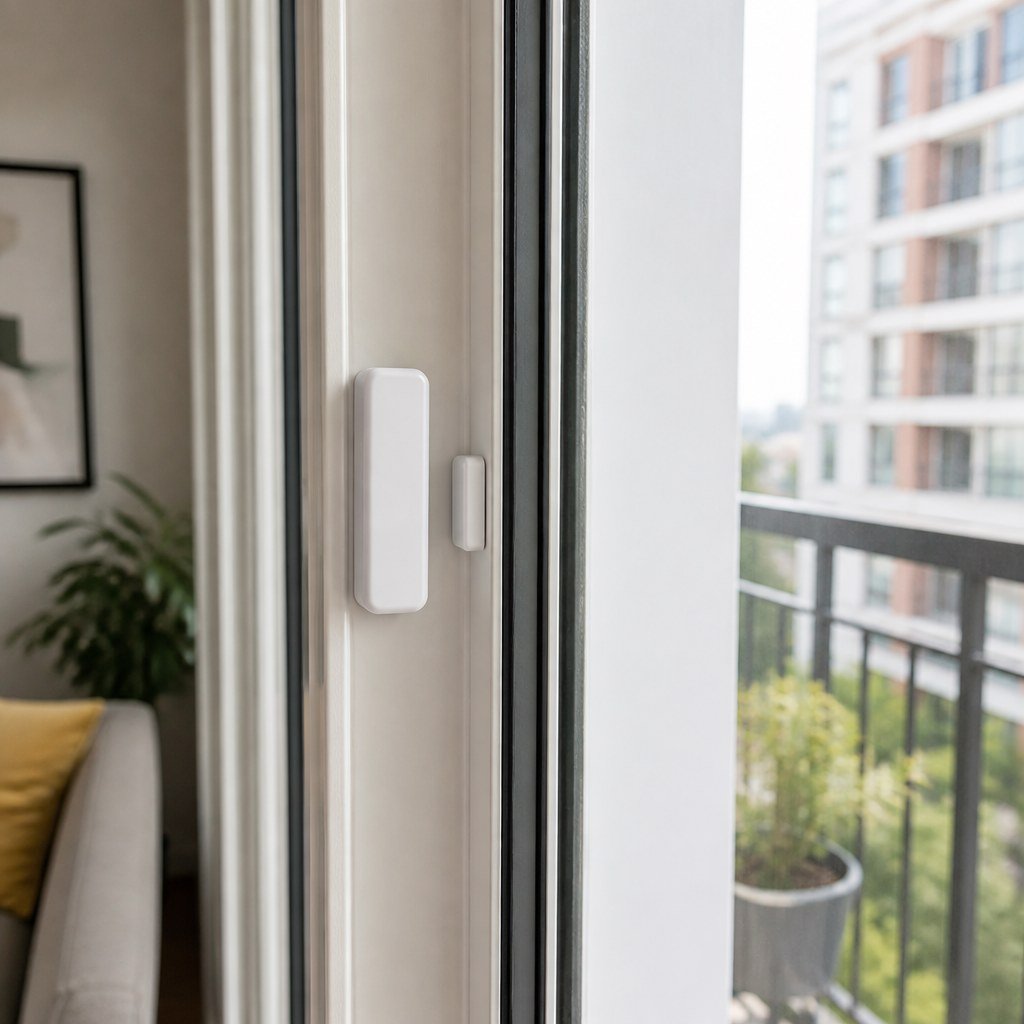
Place the sensor body on the fixed frame and its magnet on the moving door or sash, with both alignment marks level and within the manufacturer’s stated gap. Prioritize exterior doors and accessible windows. A standard contact sensor has 2 pieces and reports opening when the magnet moves away from the sensor.
By Olami Y.
Last updated November 02, 2026
How do door and window sensors work?
Most contact sensors use a magnet and a reed switch to detect whether an opening is closed.
The larger sensor body contains the electronics. The smaller piece is usually a magnet. When you close the door or window, the magnet sits beside the sensor and the system reports “closed.” Opening the door separates the pieces and changes the sensor’s state.
Alignment matters more than visual symmetry. Many models have small lines or arrows that show where the magnet must meet the sensor. The permitted gap differs by product, so check the installation sheet or current manufacturer listing rather than copying another installation.
💡 Tip: Temporarily tape both pieces in place and test them before removing the adhesive liner.
A contact sensor detects movement at the frame. It cannot detect someone who breaks the glass and climbs through without moving the sash. Pair it with a glass-break sensor, motion sensor, or camera if that entry method concerns you. Our Smart Home Lab coverage of security sensors can help you separate those jobs.
Where should you place each sensor?
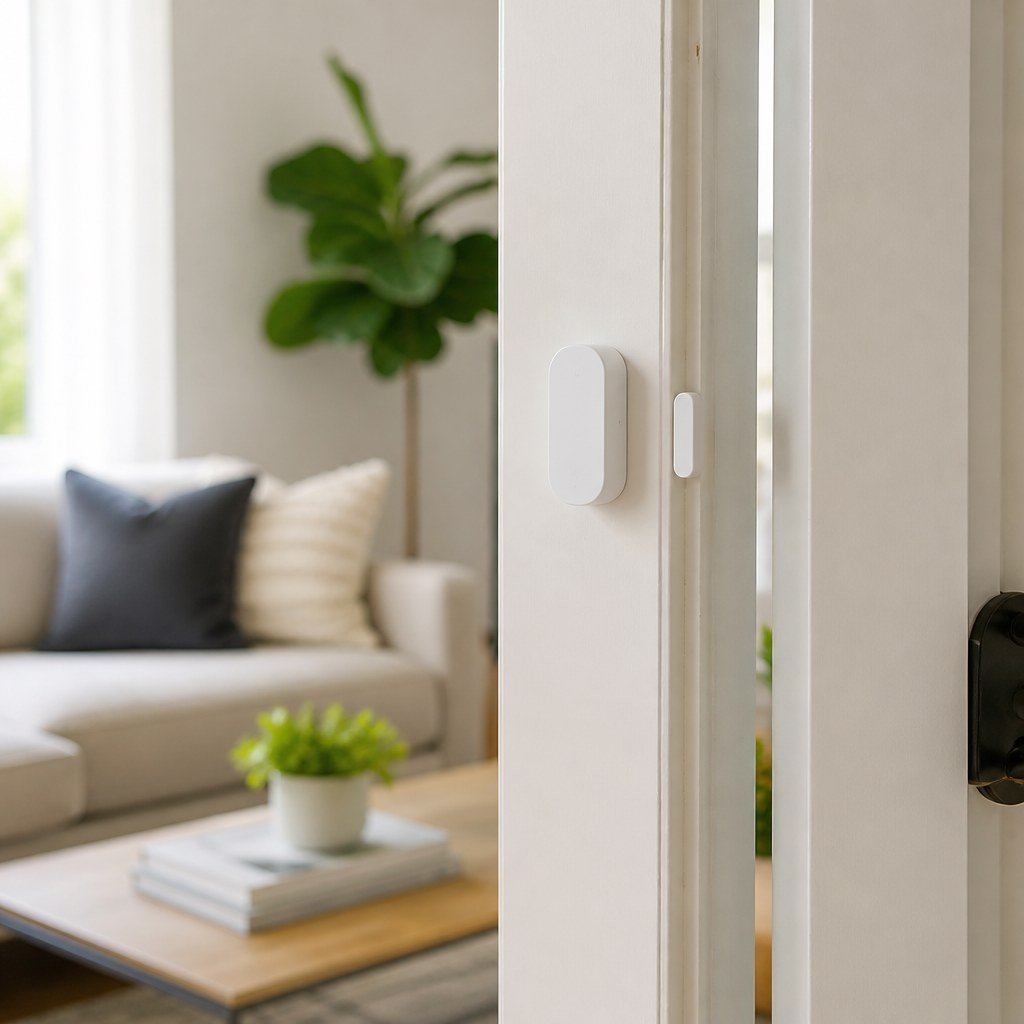
Install the sensor where the moving panel separates cleanly from a stable section of frame.
Choose the top of a door if you want the sensor out of reach. Choose the latch-side frame if molding prevents close alignment above. On metal doors, follow the manufacturer’s placement guidance because nearby metal can affect some wireless devices or supplied magnets.
Which openings should you cover first?
Start with openings that provide direct access from outside, then cover interior areas where an open-or-closed status is genuinely useful.
- Cover the main entry door, back door, garage entry door, and accessible side doors.
- Add sensors to ground-floor windows hidden by fences, shrubs, porches, or outbuildings.
- Cover upper-floor windows only where a roof, balcony, fire escape, or low extension makes access plausible.
- Use spare sensors on medicine cabinets, utility closets, or gates if your platform supports useful alerts for them.
A sensor on every window can create battery work and noisy notifications without improving your response plan. Prioritize the openings you would want identified by name during an alarm. “Back kitchen window opened” is more useful than a generic alert from an unlabelled device.
If you are renting, our reversible DIY picks for renters cover removable mounting methods. Check your lease before attaching hardware to painted trim, and avoid screws unless you have permission.
How do you install one correctly?
A clean surface, temporary positioning, and a full open-close test prevent most installation failures.
- Confirm that the sensor works with your alarm panel, hub, or app before mounting it. Our guide to smart home hub compatibility explains why the same wireless label does not guarantee platform support.
- Close the door or window fully and choose flat surfaces where both pieces can face each other.
- Clean the mounting areas according to the adhesive manufacturer’s directions, then let them dry.
- Use removable tape to hold the sensor body and magnet at the marked alignment points.
- Open and close the entry several times while watching its status in the app or keypad.
- Check that locks, curtains, blinds, and handles do not strike either piece.
- Apply the supplied adhesive or approved removable strip and respect its stated curing time.
- Name the sensor by exact location, then trigger a test notification before relying on it.
For a monitored alarm, contact the monitoring provider before testing so you do not create an avoidable dispatch. Have a licensed alarm professional handle recessed sensors, concealed wiring, or modifications to a listed security system.
Why does a sensor miss openings?
Missed events usually come from excessive spacing, shifting trim, weak mounting, or a communication problem.
- If the app always says “open,” move the magnet closer and match the alignment marks.
- If the reading changes when you press the trim, remount the sensor on a firm surface.
- If the sensor works nearby but fails at the entry, check hub range and obstructions. A mains-powered repeater may help only if your system supports one.
- If alerts arrive late, replace the battery with the manufacturer-specified type and check the platform’s notification settings.
- If the adhesive releases, clean off the old residue and use an approved replacement rather than stacking fresh tape over it.
Our Smart Home Lab advice on sensor batteries and our no-drill mounting guidance can help with recurring power or attachment problems. After any repair, arm the system and test the real opening from closed to fully open.
Choose a compatible contact sensor
Before buying, record your hub or alarm model and the available mounting gap. Then use Domoviq’s Security & Sensors Gear Finder to narrow the options that fit your setup.