No-Drill Under-Cabinet Lighting for Rental Kitchens
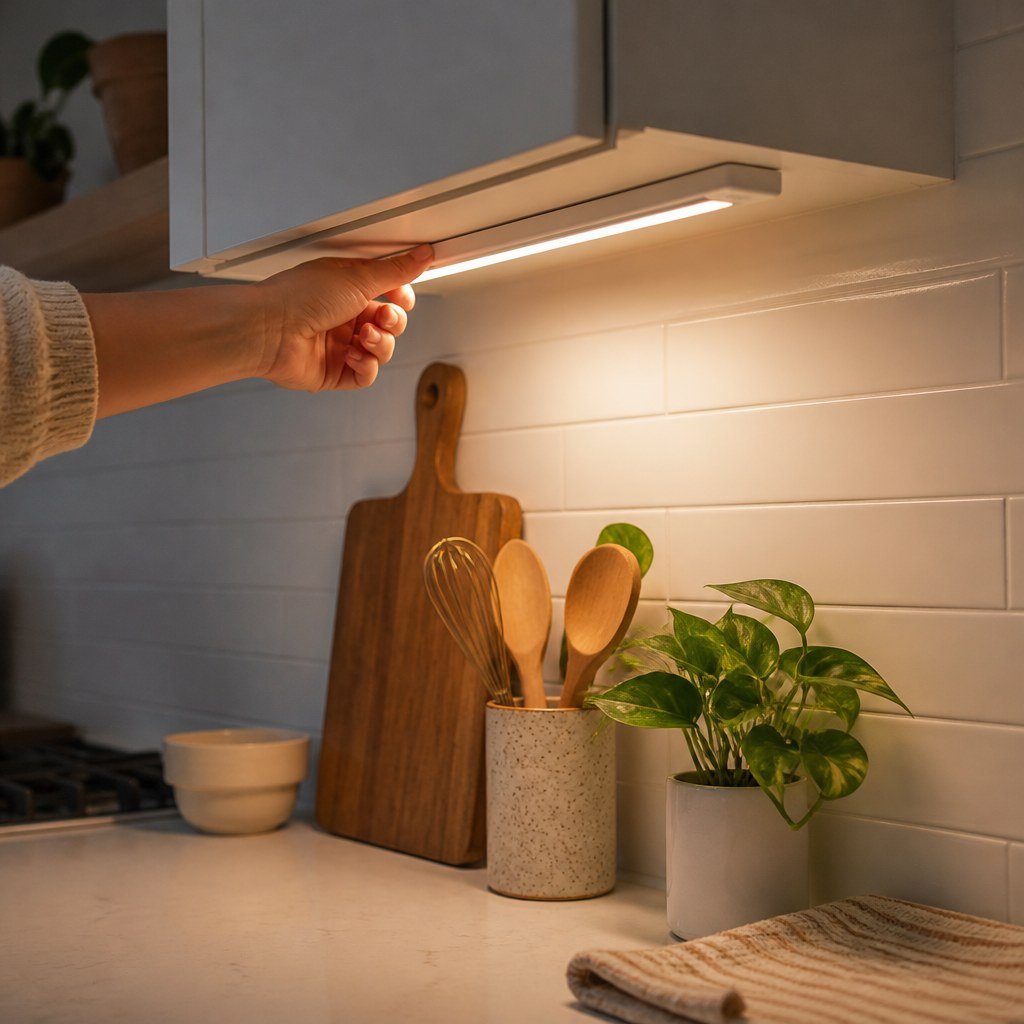
For a rental kitchen, choose plug-in LED light bars with removable adhesive strips when an outlet is nearby; choose rechargeable bars where cords would cross the backsplash. Mount them near the cabinet’s front edge for even counter light. ENERGY STAR says LEDs use up to 90% less energy than incandescent lighting.
By Olami Y.
Last updated November 01, 2026
Which type should you choose?
The right no-drill under-cabinet light depends mainly on outlet access and how often you use the counter.
Choose bars for a food-prep counter because they spread light across a wider area. Choose pucks for a display shelf or a short section that needs occasional illumination. Flexible strips work best inside a diffuser channel, but attaching the channel without screws requires enough flat cabinet surface for adhesive.
Compare current controls, power options, and dimensions with the Domoviq Lighting Gear Finder.
What features matter most?
Prioritize useful light, simple removal, and controls you will actually reach.
Adjustable brightness
Dimming lets one fixture handle bright food preparation and softer evening light. Check whether the setting remains after power is disconnected.
Suitable light color
A neutral or warm-white setting usually suits kitchens. Adjustable white gives you more choice, but confirm the manufacturer’s current color-temperature range.
Detachable mounting plate
A light that separates from its adhesive-backed plate is easier to recharge, clean, or replace without disturbing the bond.
Motion sensors are useful for quick visits, but placement matters. A sensor hidden behind a cabinet lip may not detect you reliably. For app or voice control, check the manufacturer’s current platform support and read our smart lighting controls coverage before buying.
How do you install lights without drilling?
A careful test fit and clean mounting surface matter more than applying extra adhesive.
- Ask your landlord whether removable adhesive products are permitted, especially on painted or veneered cabinets.
- Hold the light in position with painter’s tape, then switch it on after dark to check coverage and glare.
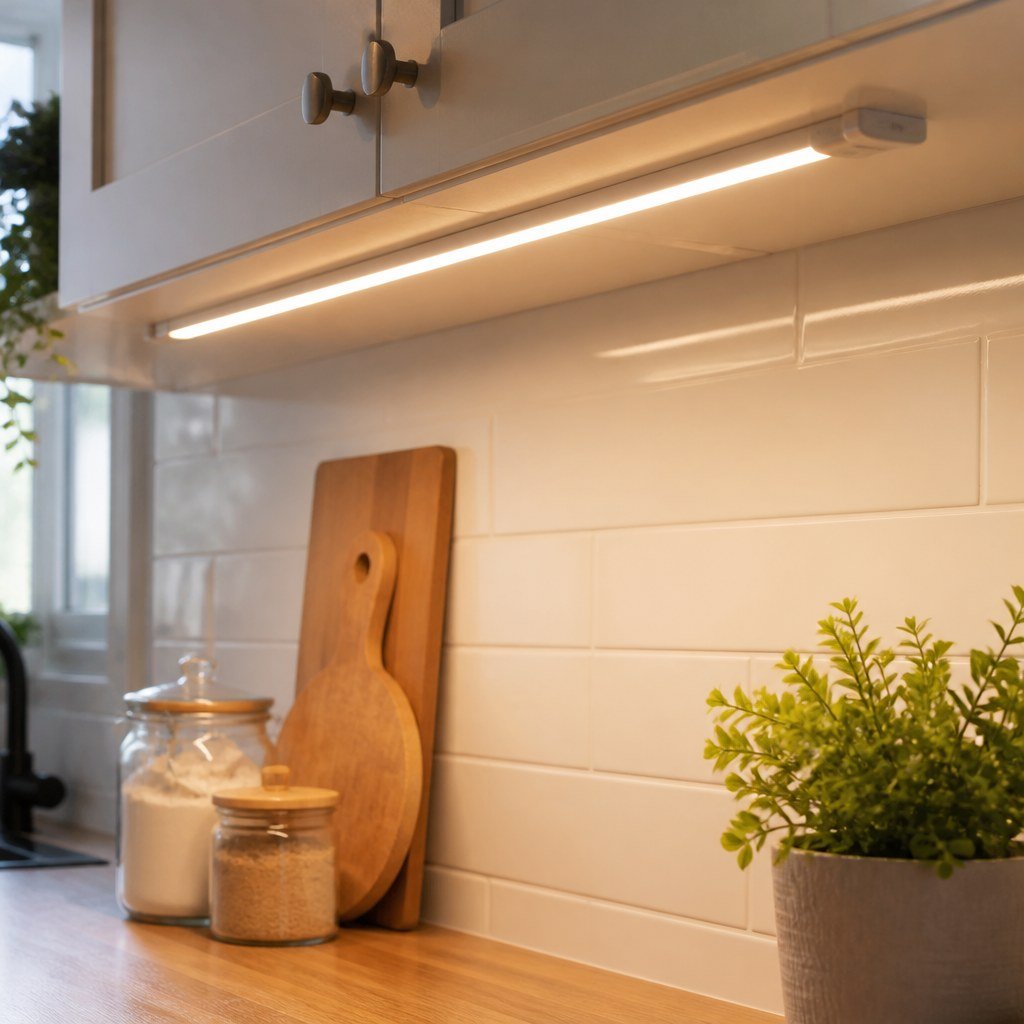
- Place the fixture toward the cabinet’s front edge rather than against the backsplash, unless its instructions specify another position.
- Clean the mounting spot with the product manufacturer’s recommended method and let it dry fully.
- Apply removable strips rated for the fixture’s weight and compatible with the cabinet surface.
- Press the mount in place for the time stated by the adhesive manufacturer before attaching the light.
- Route a plug-in cord along cabinet edges with removable cable clips, away from burners, sinks, and drawer slides.
- Photograph the finished installation and keep the adhesive removal instructions for move-out day.
💡 Tip: Test one hidden spot before installing every strip. Some coatings, aging finishes, and laminate surfaces react poorly to adhesive or cleaning products.
Our renter-safe cable management ideas and reversible DIY picks for kitchens can help you plan the rest of the setup without permanent holes.
How do you avoid cabinet damage?
Use removable mounting products conservatively and remove them exactly as directed.
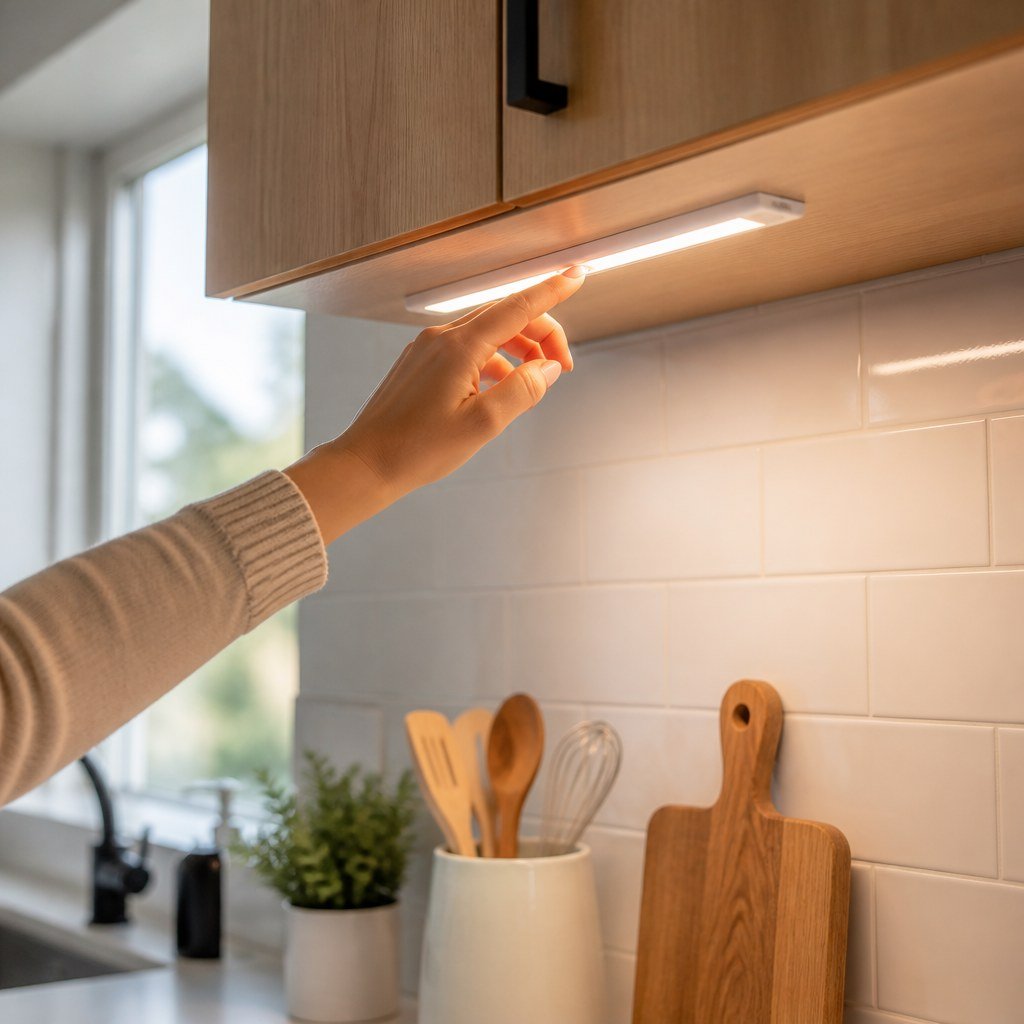
Do not assume “removable” means safe for every finish. Unsealed wood, loose paint, paper veneer, and brittle laminate may lift or discolor. If the cabinet surface seems fragile, use a light that clips to a shelf or rests on a freestanding rail instead.
At move-out, unplug the light and support the mount with one hand. Stretch a pull-tab slowly in the direction shown by its manufacturer; do not yank the fixture away from the cabinet. If no tab is accessible, follow the adhesive maker’s removal directions rather than reaching for a metal scraper or solvent.
What electrical precautions apply?
Use listed products as directed and keep connections away from water and high heat.
⚡ Safety: Never run a cable over a cooktop, through a sink area, or where a cabinet door can crush it. Stop using any light, adapter, or battery that becomes damaged, swollen, unusually hot, or gives off an odor.
Plug-in lights should use an accessible receptacle without loose connections or scorch marks. Do not alter household wiring or add a receptacle yourself for this project. Ask a licensed electrician to handle new outlets, damaged wiring, or any hardwired under-cabinet installation.
Why does the adhesive keep falling?
The usual causes are surface residue, excess fixture weight, steam, or an adhesive that does not suit the cabinet finish.
- Move the mount away from a kettle, toaster, or cooktop that exposes it to heat and moisture.
- Replace old adhesive rather than pressing the same pad back into place.
- Use more approved mounting points only if the light’s instructions allow them.
- Switch to a lighter rechargeable bar or shelf clip if compatible strips still fail.
If the light turns on but the counter remains dim, reposition it closer to the cabinet’s front edge before buying another fixture. One correctly placed bar often works better than several lights hidden against the wall.
Choose a renter-friendly lighting setup
Measure each cabinet run, note nearby outlets, and decide where you can hide cords before comparing current models.