Best No-Drill Planters and Balcony Gardens for Renters
For most renters, the best no-drill garden is a freestanding tiered stand with lightweight pots and drainage trays. Choose locking over-rail boxes only when your lease permits them and the brackets fit securely. Use the USDA Plant Hardiness Zone Map to select plants suited to your local climate. Before buying, measure the usable footprint and note runoff, because a compact planter that blocks a drain or doorway is not renter-friendly.
By Olami Y.
Last updated November 03, 2026
Prices last checked: November 2026
Which no-drill planter should you choose?
A freestanding plant stand is the safest default because it avoids the railing, walls, and ceiling.
Your best choice depends on available floor space, wind exposure, sunlight, and building rules. No-drill does not automatically mean deposit-safe: water stains, rust marks, overloaded railings, and wind-blown pots can still cause damage. Treat the wet, planted weight as the real load, and favor a lower profile where gusts funnel between buildings. A narrow sunny strip may suit a low grow bag better than a tall shelf, even if the shelf holds more pots.
Choose a stand if you may move soon. Choose a rail box only after confirming the bracket range, loaded-weight limit, lease terms, and balcony rules.
What are the best renter-friendly designs?
The strongest designs keep weight low, contain drainage, and remain easy to remove.
Tiered plant stand
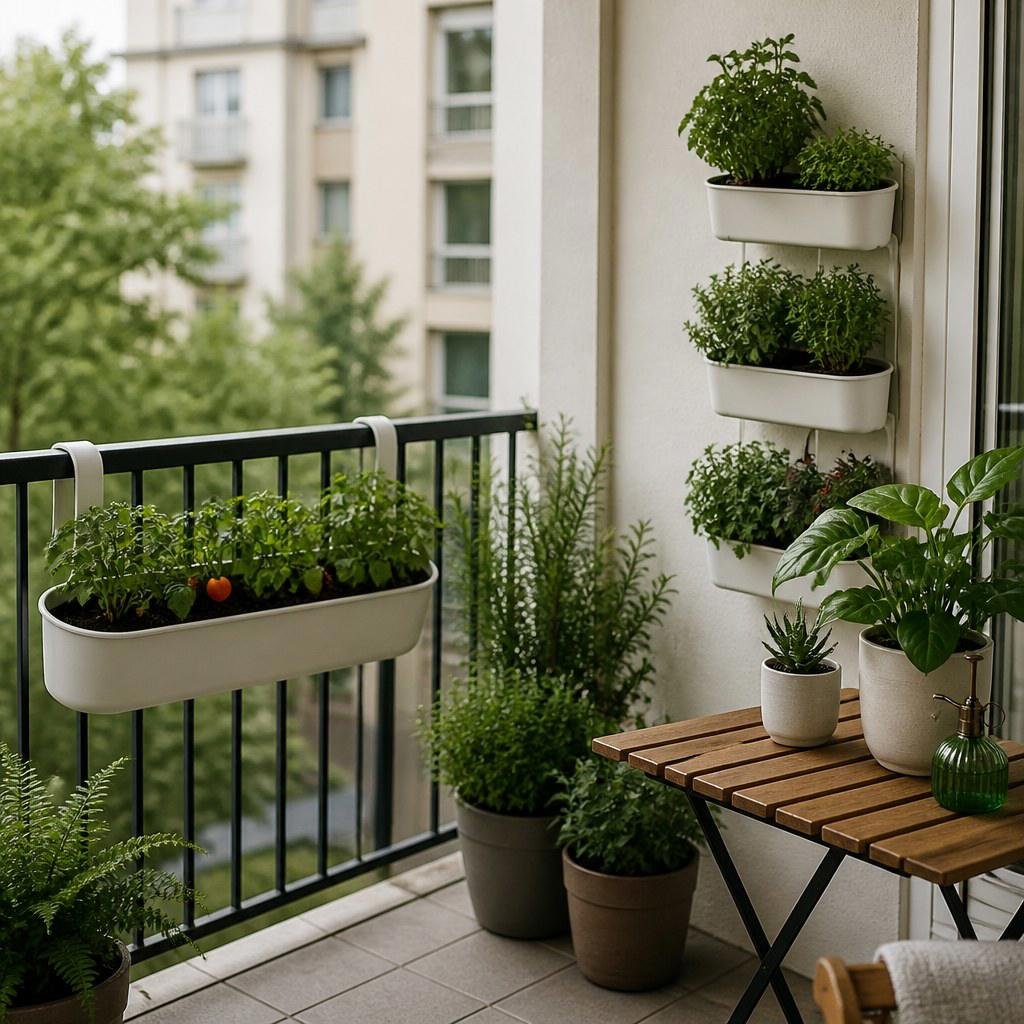
Pick a broad-based stand with raised feet and shelves sized for your saucers. Put heavier pots on the lowest level to reduce tipping risk. Check that each pot sits inside the shelf edge and watering does not require leaning over the railing.
Locking rail planter
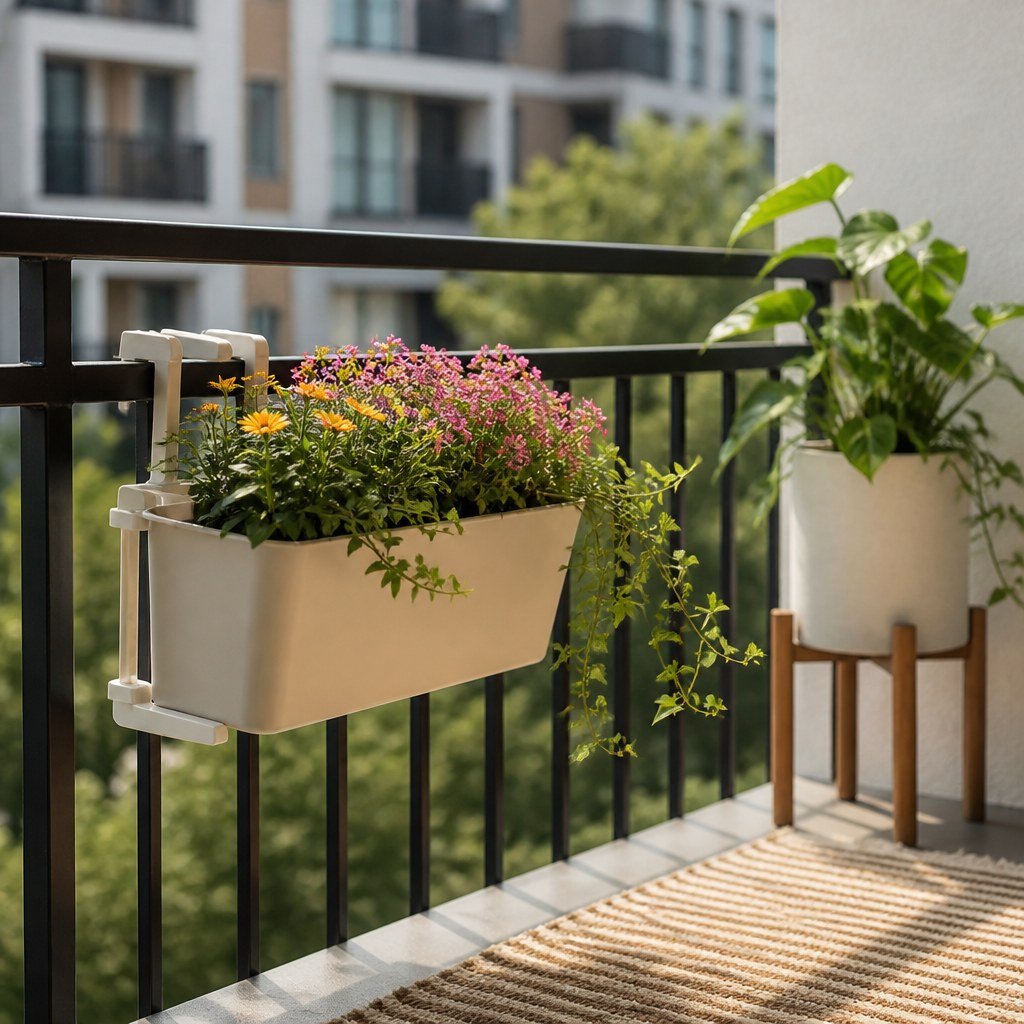
Look for adjustable brackets plus a lower brace that limits swinging. Keep the entire planter on the balcony side rather than above a sidewalk. After tightening, try lifting and twisting the empty box by hand; any movement means the fit needs correction.
Grow-bag garden
Use a rigid waterproof tray beneath each bag. Choose this setup for seasonal vegetables when you can monitor moisture frequently. Leave airflow around the bag and lift it by the handles only when the mix is relatively dry.
Rolling planter base
A wheeled base lets you move a large pot for cleaning or storms. Select locking casters and verify the base’s stated load rating. Test the locks on the actual floor slope and park the planter away from the balcony edge.
You can pair these ideas with our reversible DIY picks for renters or renter-safe balcony upgrades. For indoor seedlings, our damage-free window solutions can help you use available light without drilling into trim.
How do you check balcony compatibility?
Measure first, then check every limit stated by your property manager and the planter manufacturer. Write measurements down and compare them with the product diagram, not a balcony photo. If any dimension or load rating is unclear, use a freestanding option until the manufacturer or property manager confirms it.
- Read your lease and building handbook for restrictions on railing attachments, visible planters, drainage, and balcony storage.
- Measure the railing’s width, height, shape, and distance between vertical bars before considering a bracketed box.
- Check the planter’s current listing for its bracket range, installed orientation, material, and loaded-weight limit.
- Estimate the finished load using the container, wet potting mix, mature plant, and retained water rather than the empty planter alone.
- Watch the balcony through a normal day to record direct-sun hours and strong wind periods.
- Confirm that the setup leaves the door, walking path, drains, and any required exit route clear.
⚡ Safety: Do not drill into, modify, or use a damaged railing. Ask property management about visible rust, looseness, cracked concrete, or uncertain load limits before adding planters.
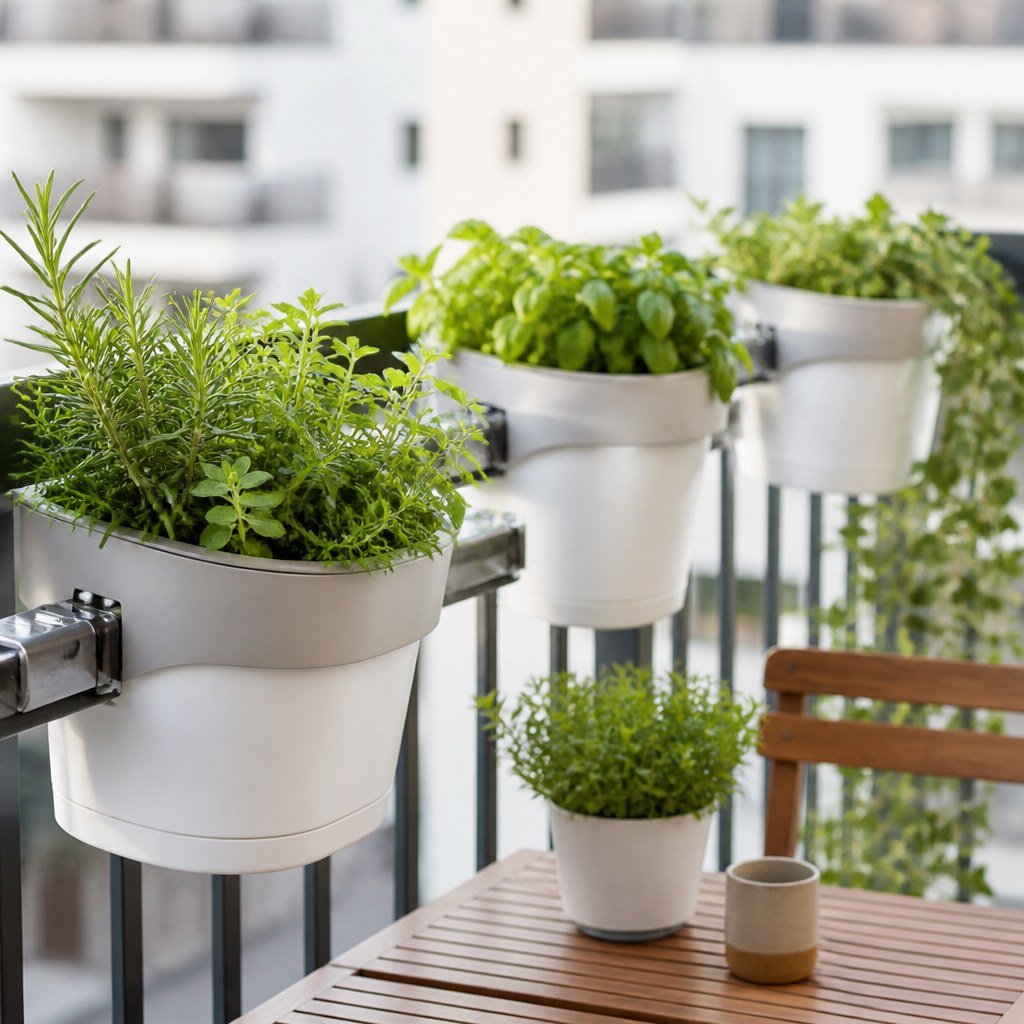
How do you install a no-drill garden safely?
Start with an empty planter and test stability before adding soil or plants. For an illustrated check, imagine filling a box in 3 stages: pause after each stage, press each corner, and stop if a foot lifts or a bracket shifts.
- Clean the floor or railing contact points and let them dry fully.
- Place rubber feet or a manufacturer-approved protective pad beneath freestanding supports.
- Assemble brackets exactly as the instructions show without substituting fasteners.
- Push gently from several directions to check for rocking, sliding, or bracket movement.
- Add potting mix gradually and repeat the stability check as the load increases.
- Water once while watching every drain hole, tray, bracket, and contact point.
Recheck the setup after heavy rain or strong wind. Move exposed pots indoors when weather conditions exceed the limits in their instructions. Empty saucers promptly if standing water attracts insects or threatens to overflow.
Which mistakes can cost your deposit?
Water damage and unstable placement cause more trouble than the lack of drilled holes. Photograph the clean floor and railing before installation, then inspect under containers during watering. Early marks are easier to clean than stains left for a growing season.
- Putting terracotta or metal directly on the floor can leave moisture or rust marks. Add a waterproof saucer with feet.
- Letting drainage run over the balcony edge can affect neighbors. Water slowly and use a tray sized for the container.
- Trusting suction cups outdoors can lead to sudden release as surfaces become dirty or hot. Reserve them for tiny, non-breakable containers on clean glass.
- Placing tall plants on an upper shelf increases wind exposure. Move them lower or choose a shorter container.
- Using garden soil in pots can create a dense, heavy load. Use potting mix labeled for containers and follow the plant’s needs.
Plan before you buy
Measure your usable floor area and railing today, then record sunlight and wind for one full day before choosing a planter.