Renter-Safe Closet Organization Without Drilling
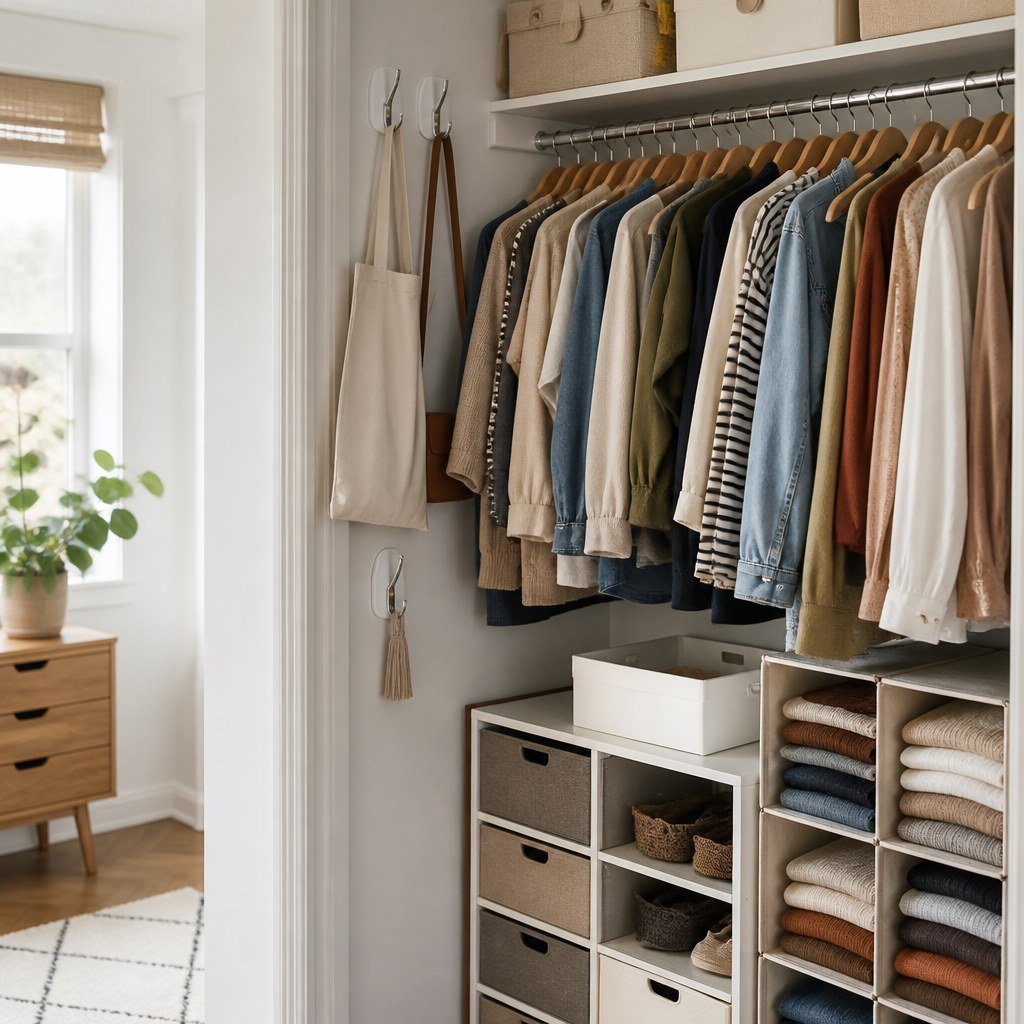
You can organize a rental closet without drilling by combining a freestanding shelf, hanging organizers, over-the-door storage, and removable hooks used within their listed limits. For adhesive products, 3M says to clean with rubbing alcohol and wait 7 days after painting before applying Command products.
By Olami Y.
Last updated November 03, 2026
Which no-drill organizers work best?
The right organizer depends on your closet’s existing rod, floor space, door clearance, and wall finish.
Start with supports that do not touch the wall. Freestanding units and fabric organizers suspended from an existing rod are generally easier to remove than adhesive hardware. Measure first, then choose the simplest combination that gives every item a practical home.
Freestanding shelves
Choose these for folded clothes, shoes, or bins when you have open floor space. Check that the unit sits level and does not require wall anchoring.
Hanging organizers
Choose fabric shelves for light clothing or accessories. Include the organizer and its contents when checking the closet rod’s stated capacity.
Over-door storage
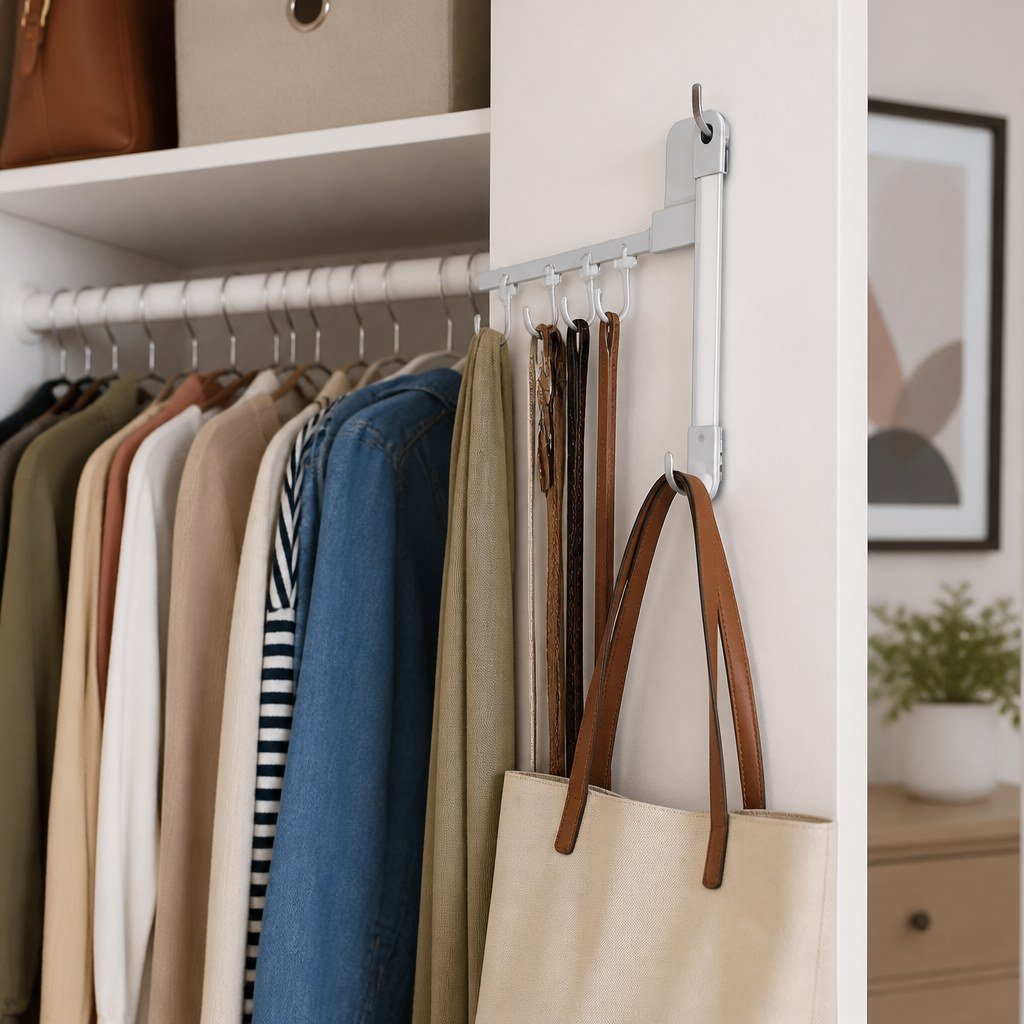
Choose slim hooks or pockets when floor and rod space are scarce. Confirm that the bracket clears the frame without scraping paint or stopping the door.
Tension rods
Choose a tension rod for light garments or scarves between firm parallel surfaces. Use the maker’s size range and load instructions rather than guessing.
Use removable hooks only for small accessories that fit the manufacturer’s listed weight limit. Our reversible DIY picks for renters and small-space furniture planning cover the same useful principle: let the floor or existing hardware carry the heavier load.
How do you plan the closet?
Emptying, measuring, and sorting the closet before buying anything prevents most fit and capacity problems.
- Remove everything and separate items into hanging clothes, folded clothes, shoes, accessories, and belongings that should live elsewhere.
- Measure the closet’s usable width, depth, and height. Record the rod height, shelf clearance, door opening, baseboards, and any sliding-door overlap.
- Check whether the existing rod and shelf feel secure. Stop loading them if brackets are loose, wood is split, or the rod bends under ordinary clothing.
- Put frequently used clothes between waist and eye level. Reserve high shelves for lighter seasonal items, and keep shoes or stable bins near the floor.
- Choose 1 main organizer before adding smaller accessories. A freestanding drawer tower may solve more clutter than several hooks and narrow baskets.
- Test door movement and access before filling everything. You should be able to reach the back corners without removing half the closet.
- Add contents gradually. Watch for bowing shelves, a slipping tension rod, stressed door hinges, or adhesive edges that begin to lift.
💡 Tip: Outline each proposed organizer on the floor with painter’s tape. This reveals blocked doors and cramped walk-in paths before you order anything.
This article is based on manufacturer guidance and general organization practices, not a Domoviq hands-on product test. Check each current product listing because dimensions, surface instructions, and load ratings vary.

How should you create closet zones?
Give each category a fixed boundary so new clutter cannot quietly take over the whole closet.
- Keep everyday hanging clothes together and use matching hanger widths to reduce uneven crowding.
- Place folded items in open shelves or labeled bins rather than tall, unstable stacks.
- Store shoes in a low rack, clear boxes, or door pockets sized for the footwear.
- Collect belts, hats, scarves, and bags on light-duty hooks or in divided containers.
- Place seasonal items on the highest accessible shelf, but avoid heavy boxes overhead.
Leave some open space. A closet packed tightly from day 1 becomes difficult to maintain. If you share the closet, divide the rod and shelves by physical boundaries rather than relying on an informal agreement.
Our damage-free wall storage guidance can help with accessories, but closet walls deserve caution. Adhesive performance depends on the surface and paint condition, and removal can expose weak or poorly bonded paint.
What mistakes can cost your deposit?
The main risks are overloaded fixtures, adhesive on unsuitable surfaces, and organizers that rub against doors or paint.
- Do not place adhesive strips on wallpaper, damaged paint, or dusty surfaces unless the product instructions specifically allow that surface.
- Do not pull removable adhesive tabs outward. Follow the maker’s removal direction and stretch the tab slowly as instructed.
- Do not assume “no-drill” means damage-free. Pressure rods can mark soft paint, while door hooks may chip the frame or strain a poorly fitted door.
- Do not hide moisture behind tightly packed bins. Investigate dampness, staining, or a musty smell before storing fabric against that area.
- Do not assemble a tall freestanding unit if its instructions require wall anchoring. Choose a lower design or ask the landlord for written permission to anchor it.
⚡ Safety: A freestanding unit that can tip should not be used without the required restraint, especially around children or pets. Do not substitute adhesive strips for structural anchoring.
Photograph the empty closet and existing marks before installation. Save organizer instructions and take another photo after removal. Our renter move-out checks offer a useful framework for documenting reversible changes.
What else do renters ask?
These details help you decide whether a no-drill idea is genuinely suitable for your lease and closet.
Can removable hooks still peel paint?
Yes. Paint may lift if it is weak, fresh, dirty, or incompatible with the adhesive. Follow the product’s surface preparation and removal instructions, and ask your landlord before using adhesive on a questionable finish.
Can I add a second tension rod?
Yes, if the surfaces are firm and the rod is sized and loaded according to its instructions. Keep heavier coats on the permanent rod and test the tension rod with light items first.
Should bins be clear or opaque?
Choose clear bins if seeing the contents helps you maintain the system. Choose opaque bins for visual calm, then label them so items do not disappear into forgotten categories.
Measure your closet today, sketch 3 storage zones, then use the Domoviq tools hub to plan your next renter-safe home project.