Renter-Safe Balcony Privacy Screens (No Drilling Into Railings)
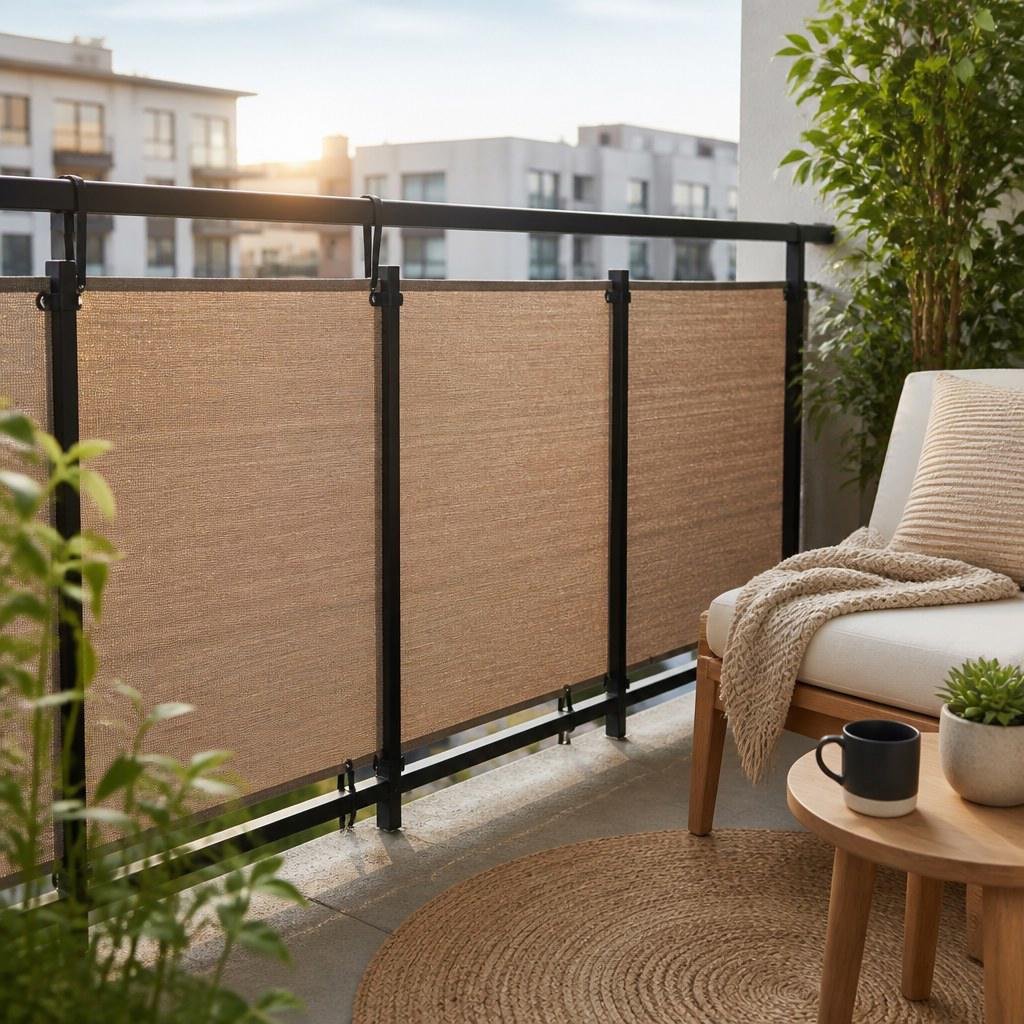
Use a purpose-made outdoor privacy mesh or lightweight reed panel secured with UV-resistant cable ties or removable railing clamps, with no screws into the building. Choose a porous screen for windy balconies, get written landlord approval, and keep every exit clear. The International Building Code commonly applies a 4-inch opening limit to guards, so never reduce railing safety.
By Olami Y.
Last updated November 03, 2026
What type of balcony screen should you choose?
Choose by wind exposure, railing shape, and the amount of privacy you need—not by appearance alone. A screen that blocks every sightline also catches more wind, while an open-weave material usually puts less strain on its fasteners.
Outdoor privacy mesh
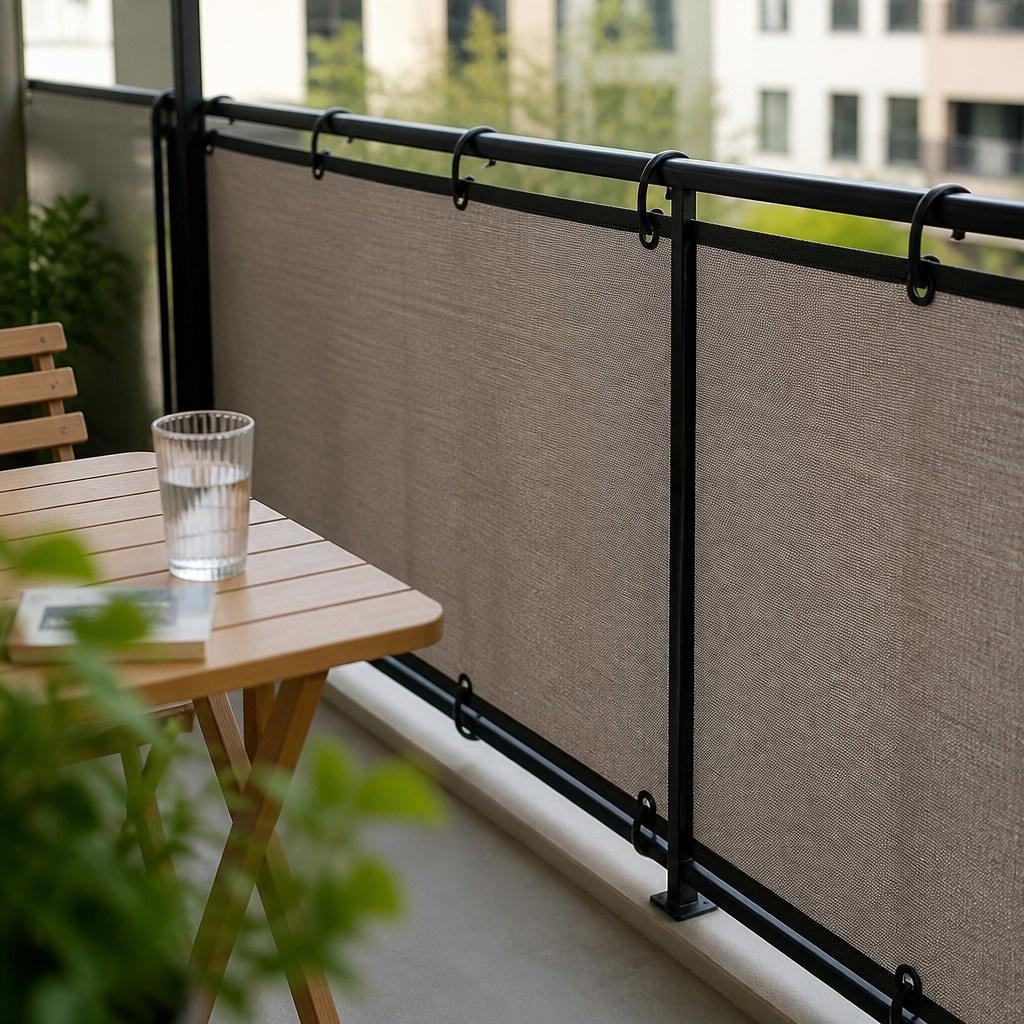
Choose mesh for an exposed balcony. Its small openings let some air pass, and reinforced edge holes provide defined attachment points.
Reed or bamboo screening
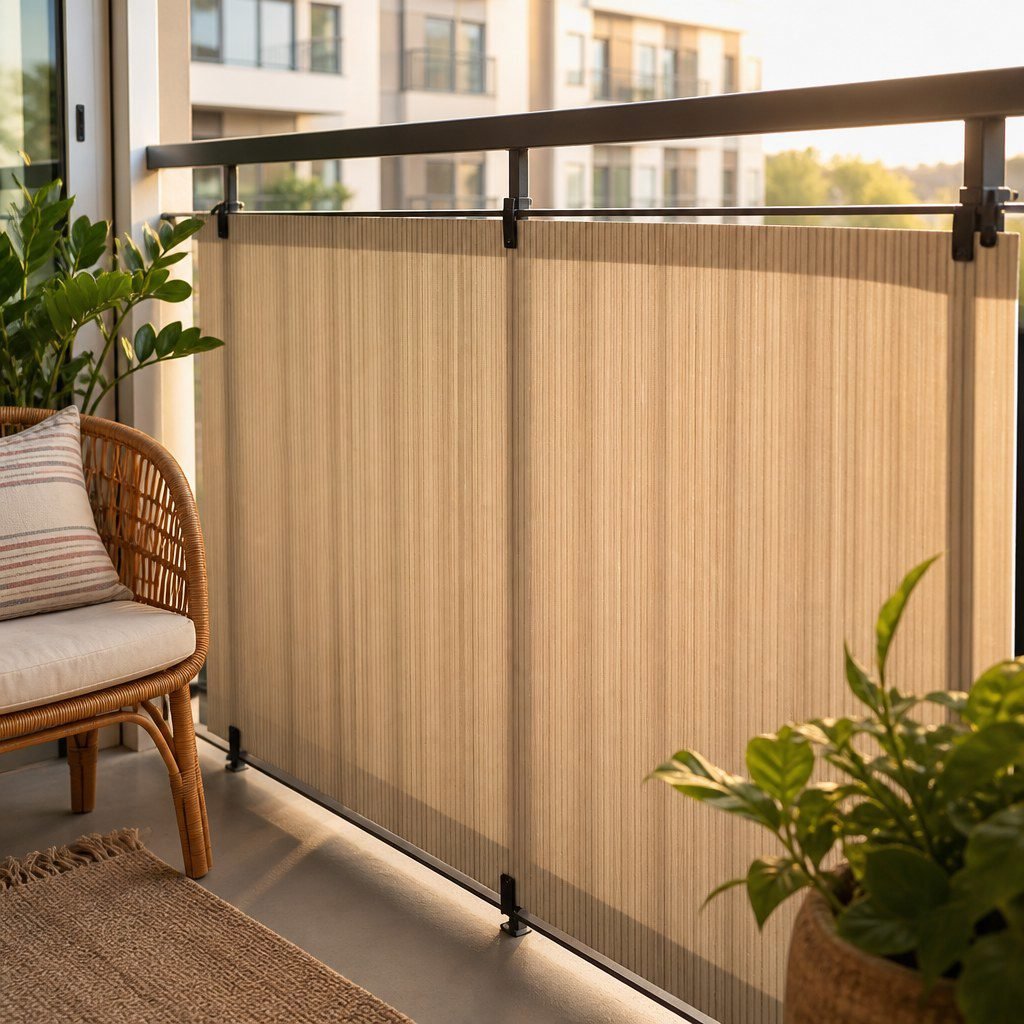
Choose a lightweight natural panel for a sheltered balcony. It offers stronger visual coverage but can shed, fade, or become brittle outdoors.
Freestanding divider
Choose a folding divider only where wind is minimal and the lease permits it. It needs a wide, stable base and must stay away from the railing edge.
A fabric curtain is better for a covered balcony with an existing tension-rated support point. Do not improvise an overhead rod where a falling pole could strike someone below. Our reversible DIY picks for renters and renter-safe outdoor upgrades cover the same basic rule: every component should leave cleanly without weakening the property.
What should you check before installation?
Check your lease, building rules, railing condition, and escape route before buying material. A landlord may allow removable attachments but restrict exterior colors, objects visible from the street, or anything fixed to a guard.
How do you install a screen without drilling?
Measure first, attach the screen at frequent existing support points, and test it gently before leaving it in place. You need a tape measure, outdoor-rated fasteners approved by your landlord, scissors, and edge protection if the railing has abrasive corners.
- Measure the inside span and height of the railing without extending above or beyond the area your building permits.
- Lay the screen flat and place its finished edge or reinforced holes against the inside face of the railing.
- Start at an upper corner and loosely fit cable ties, hook-and-loop straps, or removable clamps around existing rails.
- Work outward while keeping the material smooth rather than stretched tight. Leave enough give for normal movement.
- Add lower attachments so the bottom cannot flap outward, bunch around a drain, or create a foothold for a child.
- Trim cable-tie tails flush and rotate cut ends away from hands, pets, fabric, and painted surfaces.
- Push lightly across several areas. Stop if the railing moves, the fasteners slide, or the screen balloons sharply.
Never wrap wire around a coated railing; it can cut the finish and leave rust-prone damage. Avoid adhesive hooks on exterior masonry or painted metal unless both the property owner and product manufacturer approve that exact surface and exposure. Adhesive performance changes with moisture, heat, cold, and surface condition.
How do you keep the screen safe in wind?
Reduce the covered area or use a more open weave if the screen pulls hard during gusts. No renter-installed privacy panel should depend on the railing resisting loads it was not intended to carry.
- Inspect ties, hems, grommets, clamps, and contact points after strong weather.
- Remove the screen when severe weather is forecast or when your building issues a balcony warning.
- Replace a cheap failed tie before it transfers extra force to the remaining attachments.
- Keep planters and furniture separate from the screen rather than using them as improvised anchors.
Take the panel down if it becomes a sail, makes the guard vibrate, or sheds pieces. A denser replacement will usually worsen the wind problem. A smaller porous panel is the simpler fix. Similar inspection habits apply to no-drill window treatments, especially where repeated movement can rub against finished surfaces.
Which mistakes put your deposit at risk?
The costliest mistakes are hidden surface damage, unauthorized exterior changes, and leaving degraded fasteners in place. Photographs and written permission give you a clear record of the original condition and the agreed installation.
- Do not use screws, nails, construction adhesive, expanding anchors, or drilled clamp plates.
- Do not cover unit numbers, sprinklers, drainage openings, utility access, or fire-safety equipment.
- Do not weave material through glass-panel fittings or force fasteners into narrow joints.
- Do not leave plastic ties installed until they become brittle and snap during removal.
Before ordering anything, photograph the bare railing, measure the approved coverage area, and email your landlord a picture or product listing of the proposed screen and fasteners. Install only after the approval is in writing.