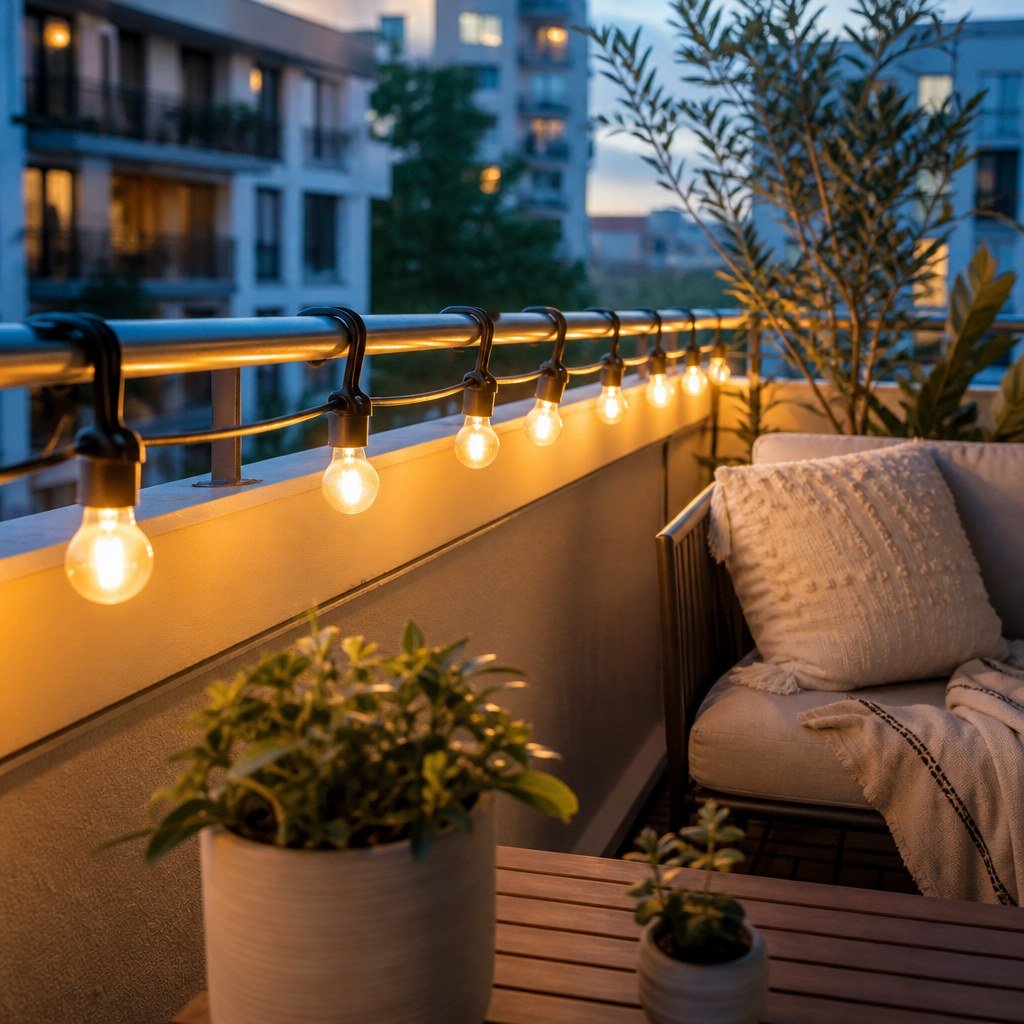
Renter-Safe Outdoor String Lights for Balconies
Use outdoor-listed LED string lights, attach them with removable exterior hooks or railing clips, and power them from a GFCI-protected receptacle. The National Electrical Code addresses GFCI protection for outdoor dwelling outlets in Section 210.8, though your locally adopted code and lease rules control.
By Olami Y.
Last updated November 03, 2026
What kind of string lights should you choose?
Choose lights according to your power access, balcony exposure, and lease restrictions.
Start with the product label and manufacturer’s current instructions. The entire set—not just the bulbs—should be identified for outdoor use. Check the cord, sockets, power adapter, controller, and any solar or battery enclosure. A product’s IP rating can provide extra information about water and dust resistance, but follow the locations permitted by its listing and instructions.
Plug-in lights
Choose these if your balcony has an accessible outdoor GFCI receptacle. They suit regular evening use, but the cord must reach without an indoor extension cord or a pinched doorway route.
Solar lights
Choose solar if direct sunlight reaches a safe panel location. Shade from the balcony above may reduce runtime, so check the manufacturer’s placement guidance before buying.
Battery lights
Choose battery power for a small balcony without an outlet or dependable sun. Confirm that the battery compartment is permitted outdoors and remains accessible for replacement.
| Option | Best fit | Main drawback |
|---|---|---|
| Plug-in | Frequent use near an outdoor outlet | Requires safe cord routing |
| Solar | Sunny balconies without outlets | Performance depends on available sun |
| Battery | Short runs used occasionally | Needs battery changes or charging |
Use the Domoviq Lighting Gear Finder to narrow your choices by installation and power needs.
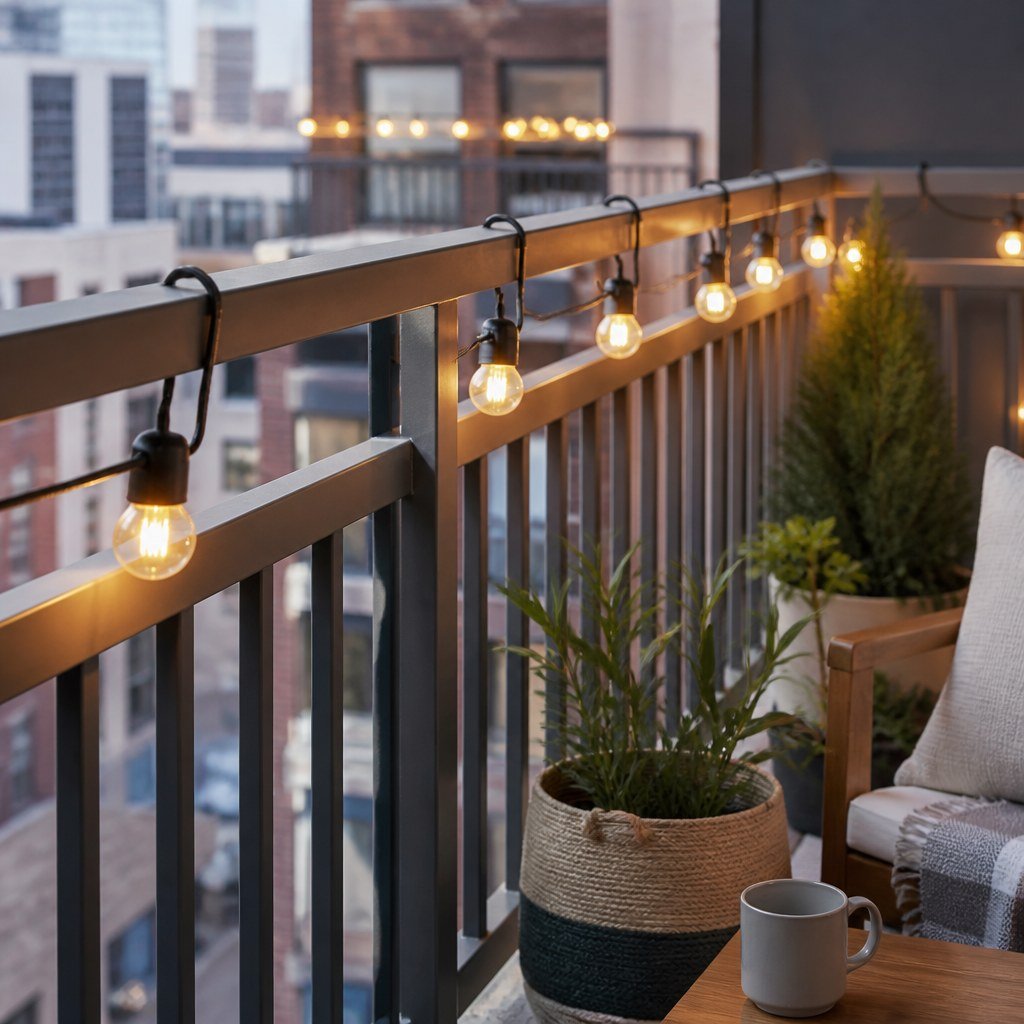
How do you hang lights without drilling?
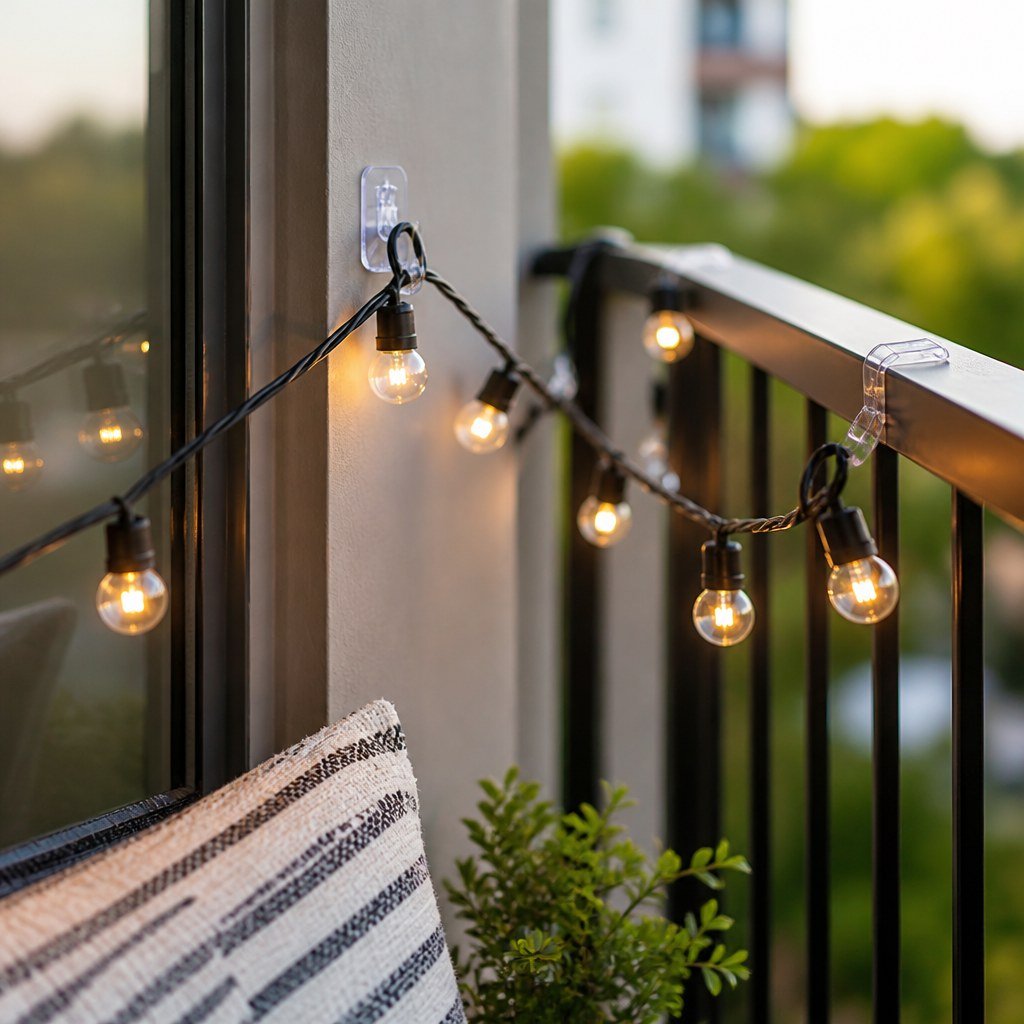
Use removable exterior adhesive hooks on compatible surfaces or mechanical clips that grip the railing without puncturing it.
- Read your lease and balcony rules before installing anything visible from outside. Some buildings restrict lighting colors, operating hours, or items attached to railings.
- Measure the intended route with a flexible tape, then compare that length with the lighted portion of the set. Do not count the lead cord as illuminated coverage.
- Choose attachment points that keep lights inside your balcony boundary and away from doors, sprinklers, vents, and neighboring property.
- Clean each approved mounting surface according to the hook manufacturer’s instructions. Exterior adhesive products may fail on dusty concrete, rough stucco, flaking paint, or damp masonry.
- Install enough hooks or clips to support the strand without pulling tightly on the electrical cord. Never use staples, nails, or screws through the cable.
- Hang the lights with a little slack, then wait for any required adhesive cure period before applying the strand’s weight.
- Photograph the finished setup and inspect every attachment after wind or heavy rain.
For metal railings, removable railing clips or outdoor-rated ties may be simpler than adhesive. Keep ties loose enough that they do not crush the insulation, and trim them without nicking the cable. Our reversible DIY picks for renters and renter-safe wall attachment methods cover the same surface-first approach indoors.
How do you power balcony lights safely?
Use only the power arrangement permitted by the light manufacturer, your building, and locally adopted electrical rules.
⚡ Safety: Do not run a cord through a closed window or door, defeat a weatherproof outlet cover, or modify a receptacle. Report a loose, damaged, hot, or repeatedly tripping outlet to your property manager and have electrical work handled by a licensed electrician.
Test the outdoor receptacle with its built-in TEST and RESET buttons according to the receptacle manufacturer’s directions. If it does not reset or provide power, stop there. A renter should not open the outlet box or replace the device.
If the light instructions permit an extension cord, use one listed for outdoor use and sized for the connected load. Keep every connection off the walking surface and protected exactly as the product instructions require. Never join multiple strands beyond the manufacturer’s stated limit; check the current label because that limit varies by model.
An outdoor smart plug can add schedules, but its listing must allow your location and exposure. Check our Smart Home Lab guidance on outdoor smart plugs before adding app control. A timer does not correct an unsafe outlet, overloaded connection, or indoor-only light set.
What mistakes put your deposit or lights at risk?
Most problems come from unsuitable adhesives, strained cords, or installations that ignore building rules.
- Using indoor adhesive hooks outside can lead to fallen lights. Select an exterior product approved for the actual surface and temperature conditions.
- Placing hooks on peeling paint can remove the finish at move-out. Use railing clips instead, or ask the landlord for written permission for another method.
- Wrapping a strand tightly around a railing can stress sockets and insulation. Support it at intervals with gentle curves.
- Letting bulbs hang beyond the railing creates a falling-object risk and may violate property rules. Keep the full installation within your balcony.
- Removing adhesive too quickly can tear paint. Follow the maker’s removal direction, support the hook, and pull any release tab in the specified direction.
💡 Tip: Save the hook packaging and installation instructions until move-out. You will need the stated removal method months after the original setup.
What should you check before turning them on?
Do one daylight inspection before the first evening use and repeat it after severe weather.
- Confirm that every hook and clip is secure without pulling the cord taut.
- Look for cracked sockets, exposed conductors, loose bulbs, or water inside components where the instructions do not permit it.
- Verify that the cord does not cross a doorway, walkway, drain, or emergency exit route.
- Make sure the plug connection and control box remain in their permitted outdoor positions.
- Turn the lights on while you are present and check for flickering, unusual heat, odor, or repeated GFCI trips.
If anything looks damaged, unplug the set and follow the manufacturer’s replacement guidance. Do not tape over damaged insulation or bypass a protective device. For your next step, measure the balcony route and photograph the outlet, railing, and mounting surfaces before you shop.
Find lights that fit your balcony
Compare lighting options by power source and installation needs before buying.